Create your workspace
Start a free trial, confirm your email address and sign in to your new workspace.
Who can do this:Anyone
A workspace is your organisation’s own copy of OGDESK: its people, tickets, knowledge and settings. Whoever creates it becomes its first Tenant Administrator and can invite everybody else.
Sign up
Step 1: Go to the OGDESK home page and choose Start your free trial, or open
/signupdirectly.Step 2: Fill in Your name, Work email and Organisation.
Workspace address fills itself in from the organisation name. You can change it now, but not later: it is part of every link OGDESK sends.
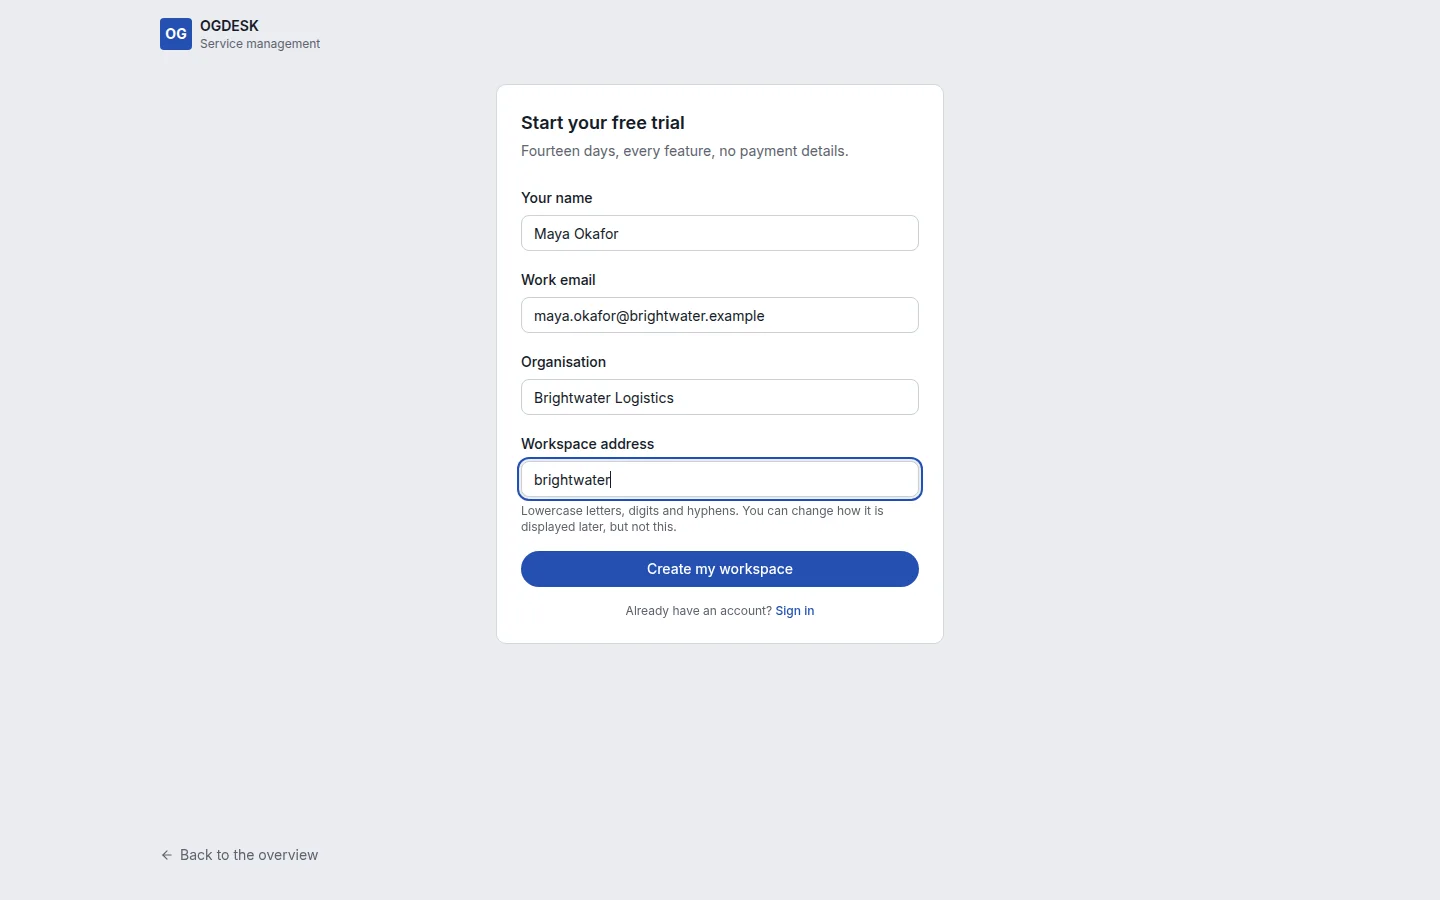
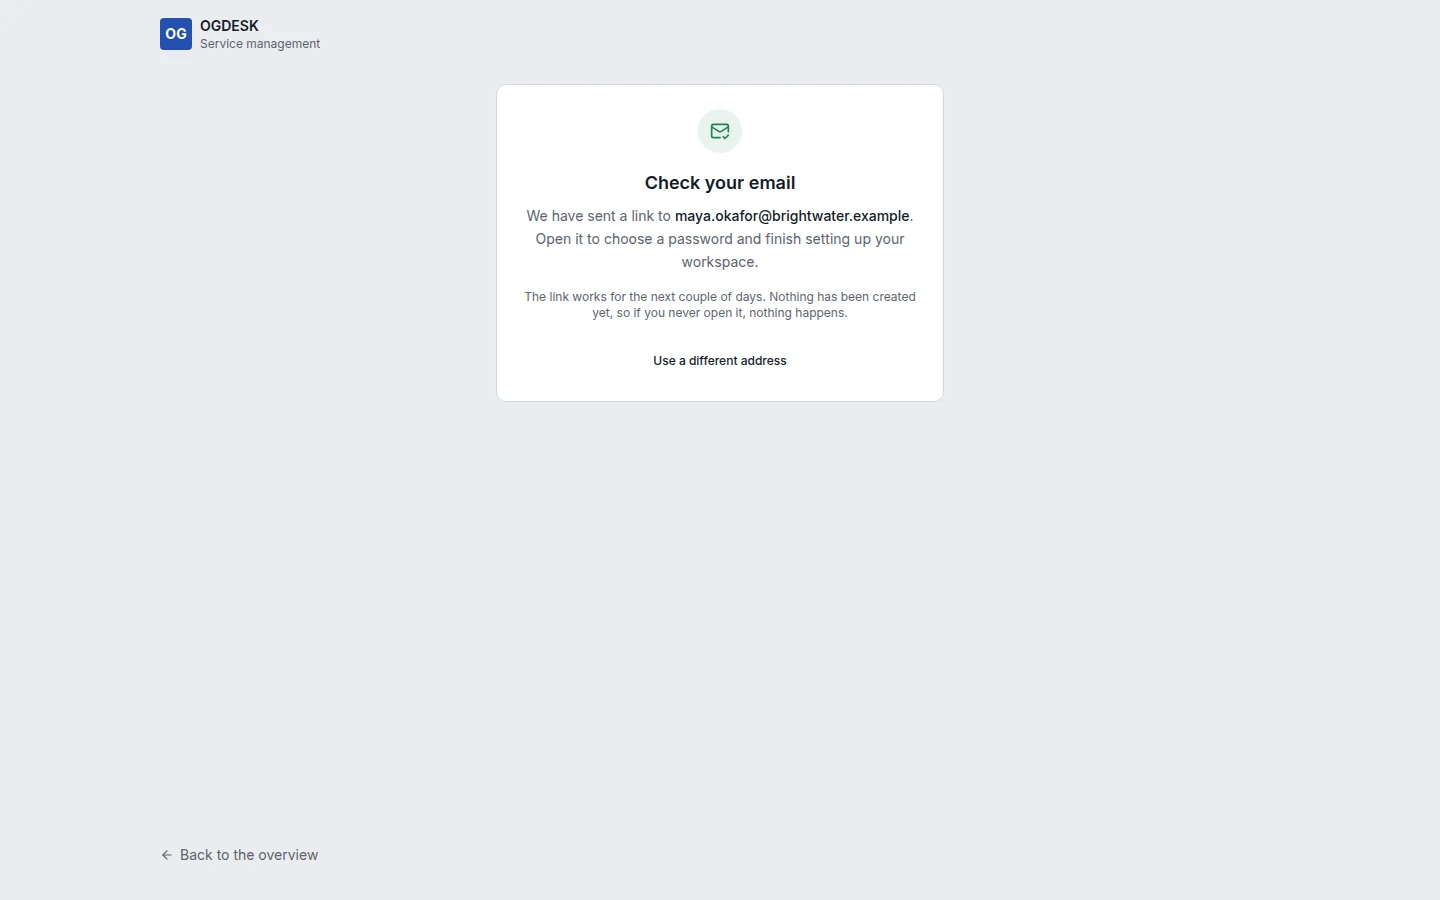
Step 3: Choose Create my workspace. OGDESK emails you a confirmation link.
Nothing is created until you open that link, and it works for the next couple of days. If it does not arrive, check your spam folder, or choose Use a different address.
Confirm your email and choose a password
Step 1: Open the link in the email. The page says Email confirmed.
Step 2: Choose a Password and type it again under Confirm password.
At least 12 characters, with upper case, lower case and a digit.
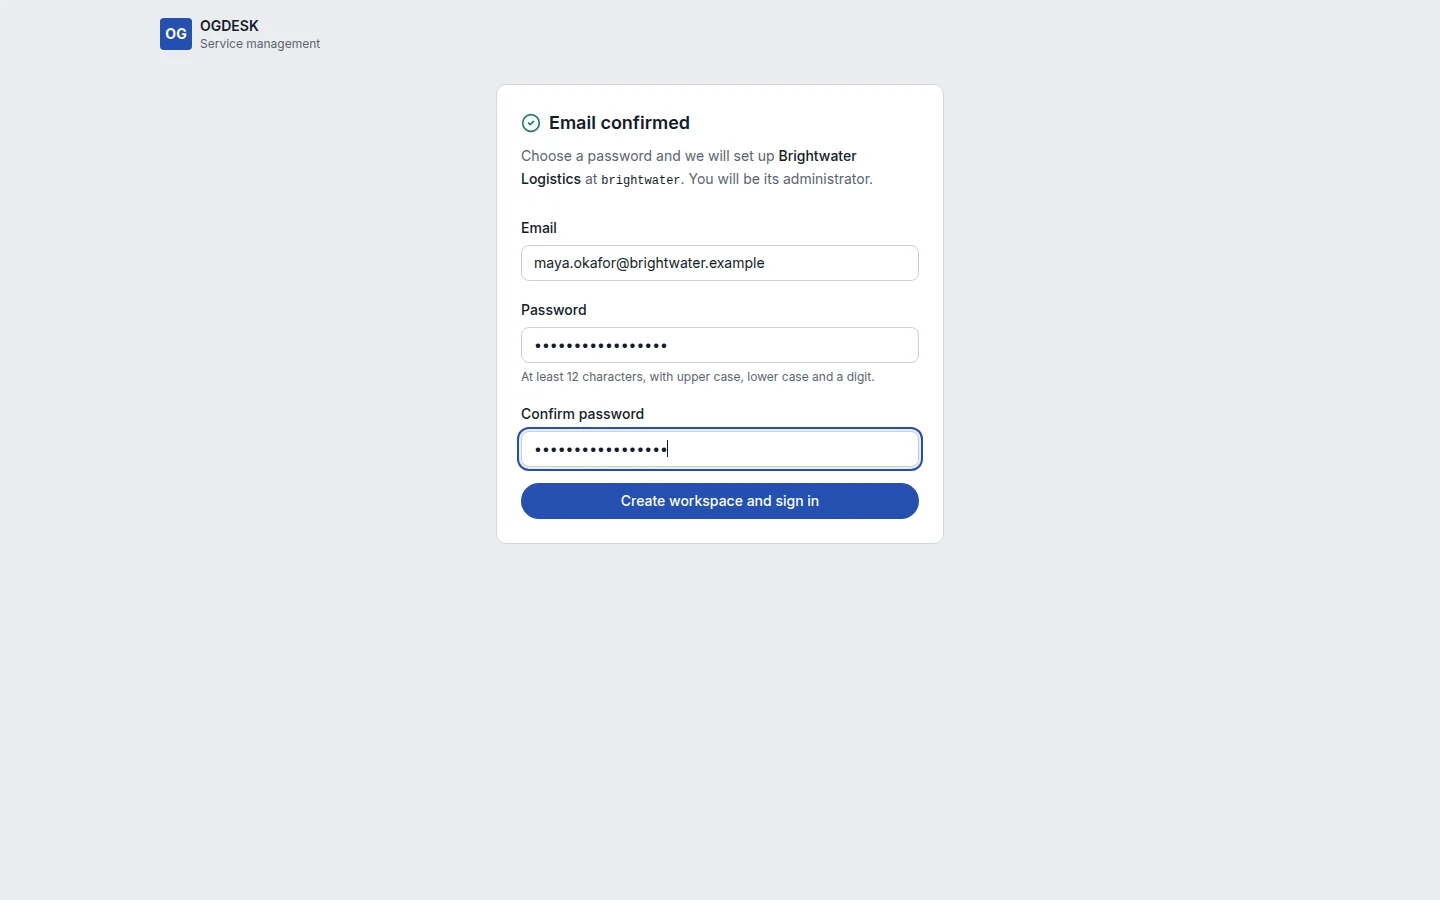
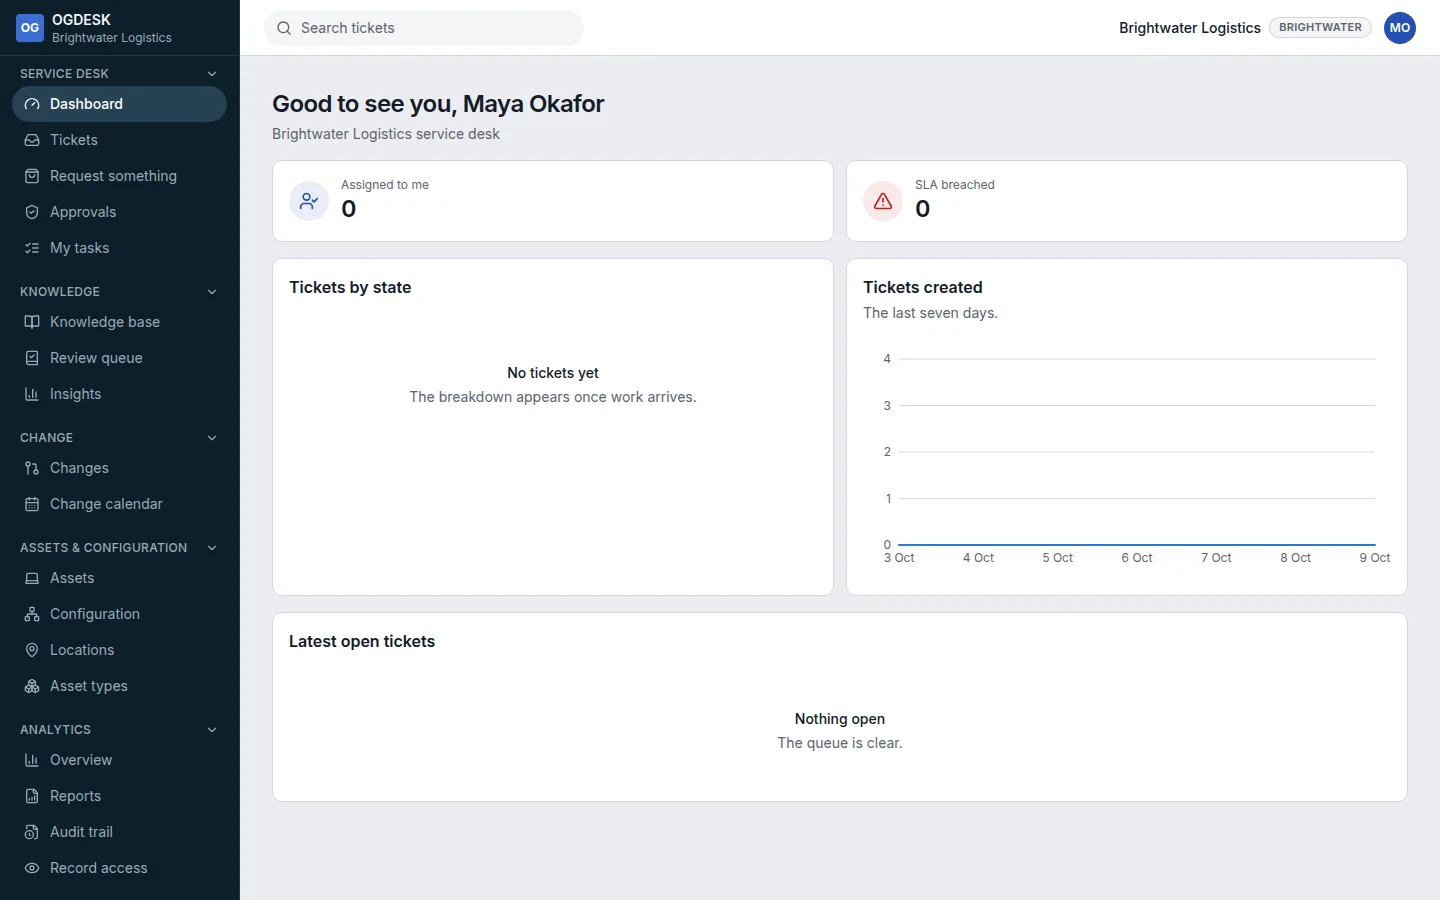
Step 3: Choose Create workspace and sign in. Your workspace is set up and you land on its dashboard.
What your new workspace already has
- The built-in roles, from End User to Tenant Administrator. See Roles and permissions.
- A category tree for classifying tickets.
- One assignment group, Service Desk, where new tickets land.
- Standard business hours (Monday to Friday, 09:00–17:00) and a Default service level policy.
- Two ticket types: Incident (numbered INC-…) and Service request (REQ-…).