Invite people to your workspace
Add a colleague, choose their role, and what they see when the invitation arrives.
Who can do this:Tenant AdministratorHelp Desk Administrator
Add someone
Step 1: In the sidebar, under Administration, choose People.
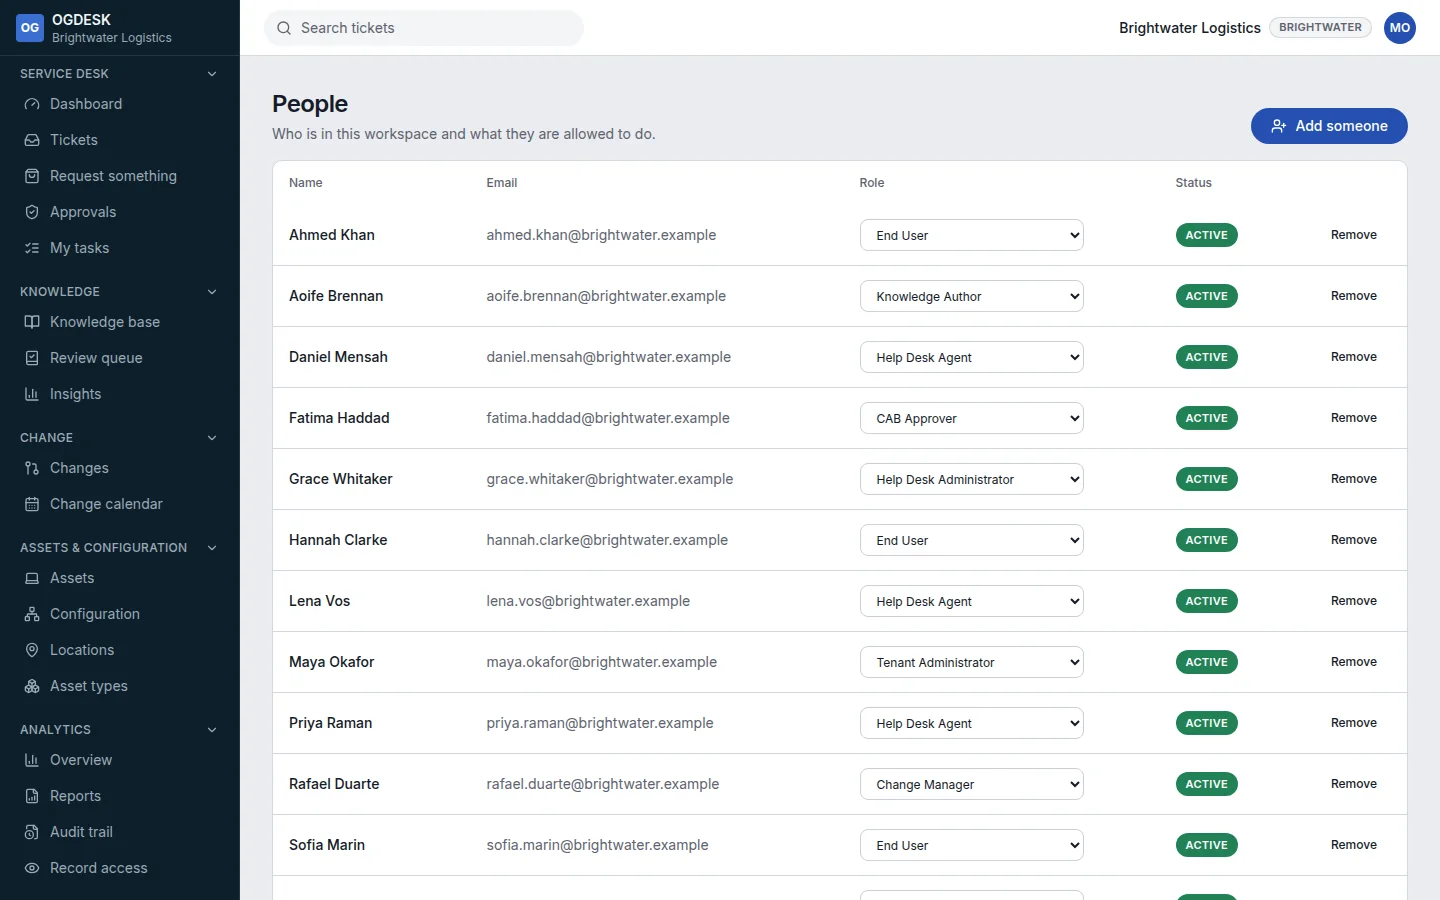
Step 2: Choose Add someone.
Step 3: Type their Email and Name, and choose a Role.
The role decides what they can see and do. Most of your team will be Help Desk Agent; everyone who only raises tickets is an End User. See Roles and permissions.
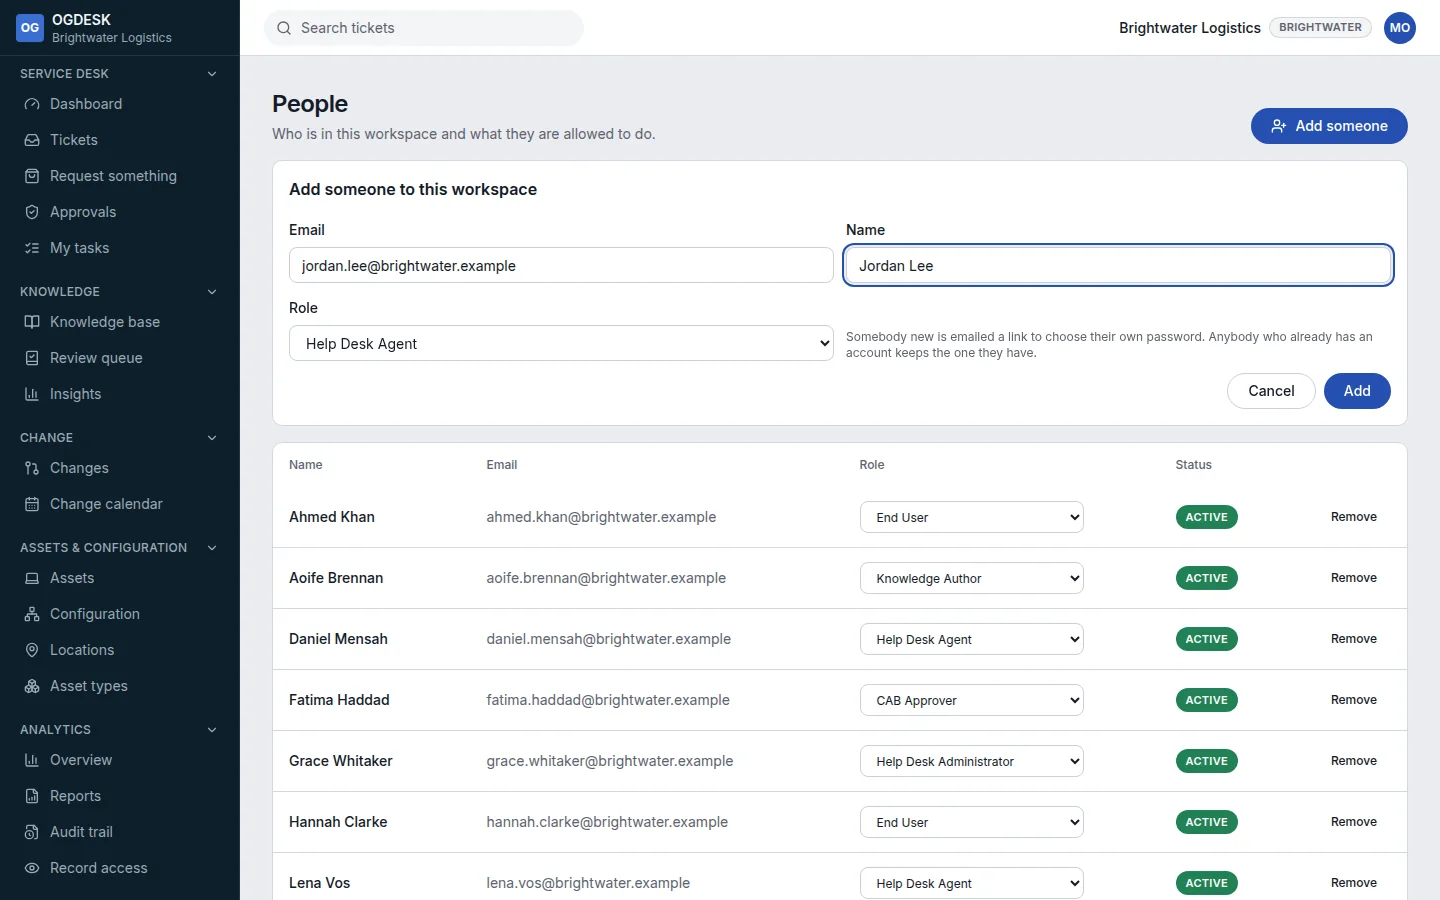
Step 4: Choose Add. They appear in the list straight away, marked Inactive until they choose a password.
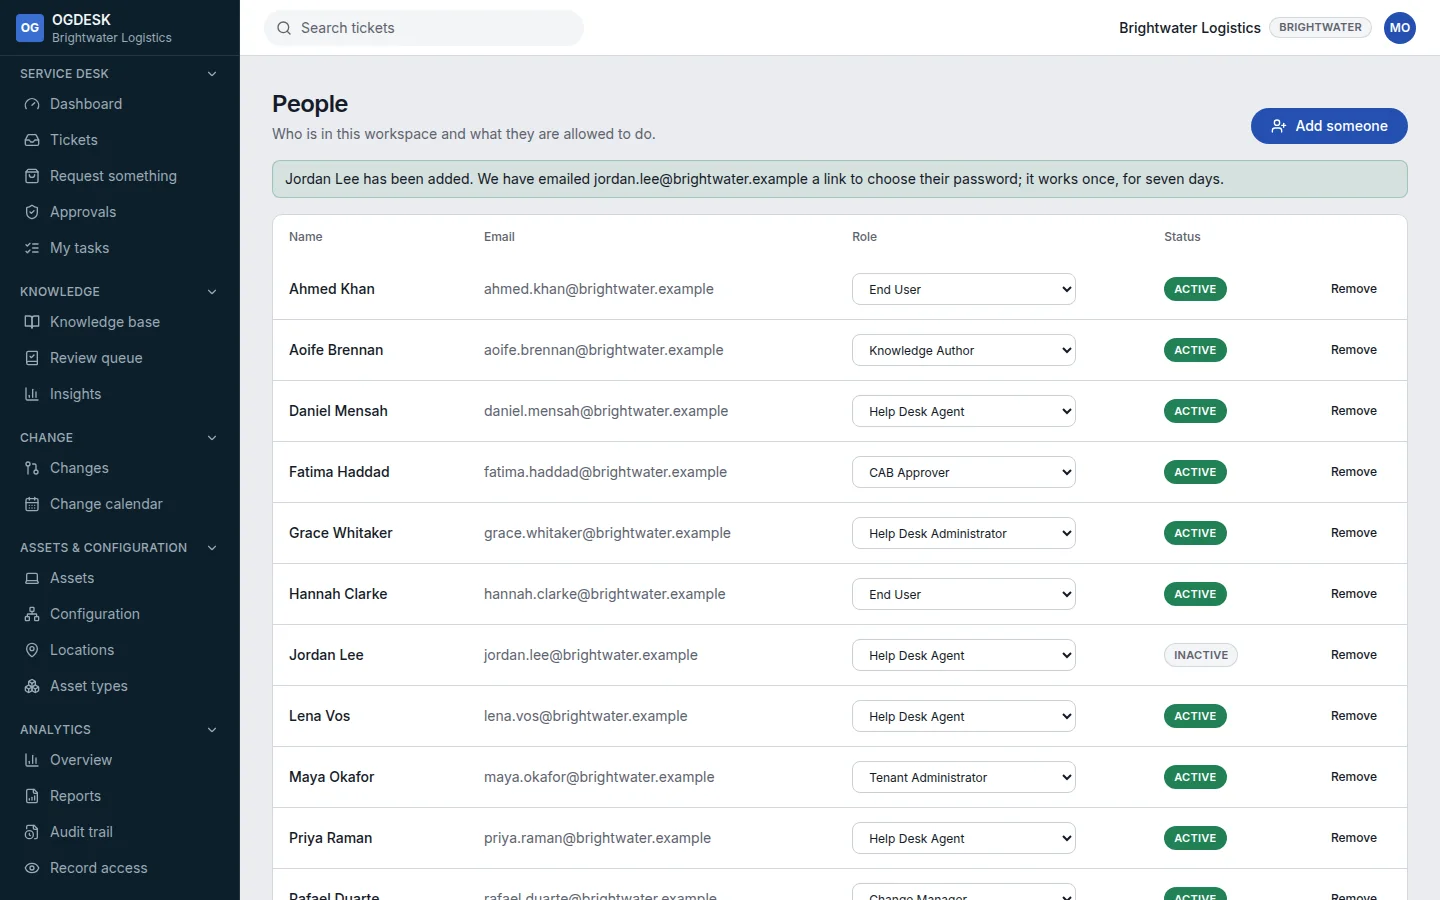
What the person you invited does
Step 1: They receive an email, You have been invited to …, with a link that works once, for seven days.
Step 2: The link opens Choose your password. They type a password twice and choose Set password.
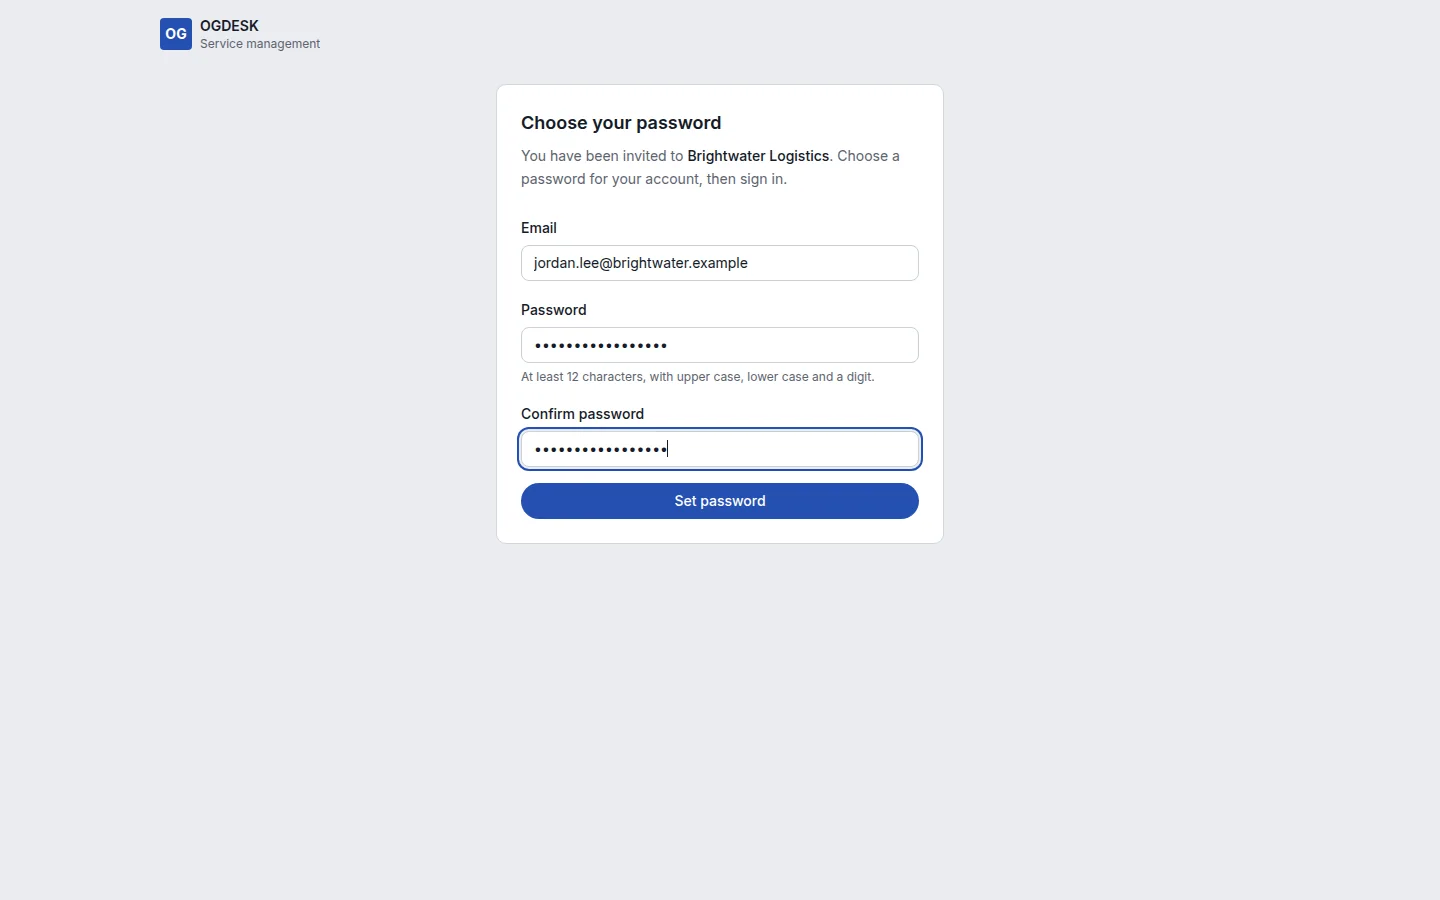
Step 3: They choose Sign in. Their status on the People page changes to Active.
Good to know
- You add people one at a time. To load many people at once, see Import and export data.
- There is no resend button. If an invitation has expired, choose Remove on their row, then add them again.
- You cannot give somebody a role that can do more than yours can.
- If the invitation email could not be sent, the page says so. Check the email settings, then remove and add them again.